Camera Kits
What I Use | How to Start | Photography Basics
Finding your footing in photography can be… upsetting. There are so many options between brands, lens types, camera settings and extra gear. It can feel like a ridiculously steep learning curve.
My first attempts at jumping in left me frustrated. I was confused. I was overwhelmed by the prices of the “nice” cameras. I started to wonder if I should just find a different hobby…but…I loved taking photos….
I’m sure these feelings are familiar to anyone starting something new. There’s just so much out there and everyone seems to have the right way to do it. No matter where you look, there’s another listicle telling you what gear you must have, what you should pay for it and how it’s impossible to do anything worthwhile without their exact kit.
Oh, and don’t forget: here’s their special link so they can make money off your confusion... yay.
But here’s the truth: nothing is as hard as it seems.
Sweep away all that noise and focus on the shape of these words:
You don’t need a list.
You don’t need someone else’s camera.
You don’t need to worry.
I also panicked when I looked up what other photographers were using.
I also panicked (and poured a glass of wine) when I saw the price tags.
I also almost gave up.
My first camera was a gift, an old Canon 30D. Beat up. Barely worked. It gave me about a year before dying with the dreaded Error 99.
Error 99 is Canon’s way of saying: “So much is wrong I can’t even begin to tell you where to start. Let me die.” At least that’s what mine said to me. Now it’s just decoration on a shelf.
So, I knew I needed something new, but where to start? I started looking up what “real” photographers were using. And that’s when my heart sank.
$4,000. $5,000. Just to… click a shutter. That’s not even factoring in the lenses, accessories, filters, programs, bags, tripods… ugh! Overwhelming!
It took a year of missing photography before I found a deal I could live with, even if it still hurt. A renewed Canon 80D with an 18–55mm lens for $800 in Canon USA’s Renewed section.
I still wince at that price. But that’s where I started again. It wasn’t flashy. It was already outdated. It wasn’t part of anyone’s curated list of “essential gear.” But for me, it was enough.
It took another two years before I had what I feel is a complete kit.
It’s not perfect — it’s better than that. It’s mine.

Canon EOS 80D + 18–55mm Lens — $800
Renewed from Canon USA. It’s an APS-C DSLR body with a general purpose lens. Great for learning composition, lighting and the basic controls. I use this lens for everyday scenes, portraits, food and travel.
Canon 70–300mm USM — $300
Snagged from the used section of a local camera shop. It fit my camera and my “splurge” budget that month. It’s an older lens, and while USM (Ultrasonic) typically means quieter focusing, this one really growls. I love it anyway. Telephoto lenses are great for wildlife, sports, some portraits or getting those compressed landscapes.
Canon 40mm “Pancake” — $150
An Amazon Renewed find. This is a prime lens, meaning it has a fixed length = no zoom. Compact and sharp, it’s perfect for street photography, food and detail shots. Pairs great with the macro tubes below.
Micnova Macro Extension Tubes — $65
A low cost way to convert standard lenses into macro lenses. They let you get really close. Flowers, textures and tiny objects. They require you to use manual focus, but I think they’re worth the fuss.
Clip-On iPhone Macro/Wide Lens — $40
This little guy got me through that year without a camera. It helped me slow down and encouraged me to look closer. Lightweight, pocketable and surprisingly capable. Some of my favorite floral close ups were taken with this clipped to my phone.
Grand Total — $1,355
Now remember, I took two years to slowly build my kit from where it started with the first $800 investment. It slowly grew with me, my interests and my skills. There was no frightening deep dive or immersion. Just working with what I had and gradually adding new pieces when I felt ready and interested.
You don’t need all of my kit to begin.
You need a camera, a lens and a strap.
Just start.
No matter what brand you choose, you’ll need to learn the basics but you don’t need to drown in them. It’s much easier when you know what to ask. Here are some of the questions that got me moving:
How are —brand name here— cameras categorized? Which are the beginner, intermediate and advanced models?
What kind of photography do I want to do? (This really helps with finding what lens you’ll want to start with.)
What are Aperture, Shutter Speed and ISO?
These are just a few of the questions that got me going. Today, you have tools I didn’t. You can plug them straight into something like ChatGPT and have an actual conversation about it. You can learn what you need at your own pace and in your own way.
Since Canon was my starting point, I decided to stay there. I knew I didn’t want to go with the Rebel Series as it was too limiting — I wasn’t a professional, but I didn’t want to bar myself from becoming one. I also wasn’t ready for the Mark II pro line, too expensive. And I wasn’t ready to jump into mirrorless back then because the prices were also too high. Someday, maybe.
The 80D felt like the right middle ground. Familiar. Reliable. Affordable. It matched the old Canon I’d learned on and that mattered to me.
All of this understanding came from asking good questions and trusting what felt right, not what was trending.
Manual Mode
It’s how you stop guessing and start creating.
Yes, it seems complicated at first. But honestly? It only takes a couple of hours (or a few days, if you’re a little dense like me) to get the hang of it.
After that, it’s just practice and play.
The key to shooting in manual is actually a triangle. The Exposure Triangle.
Aperture — Shutter Speed — ISO
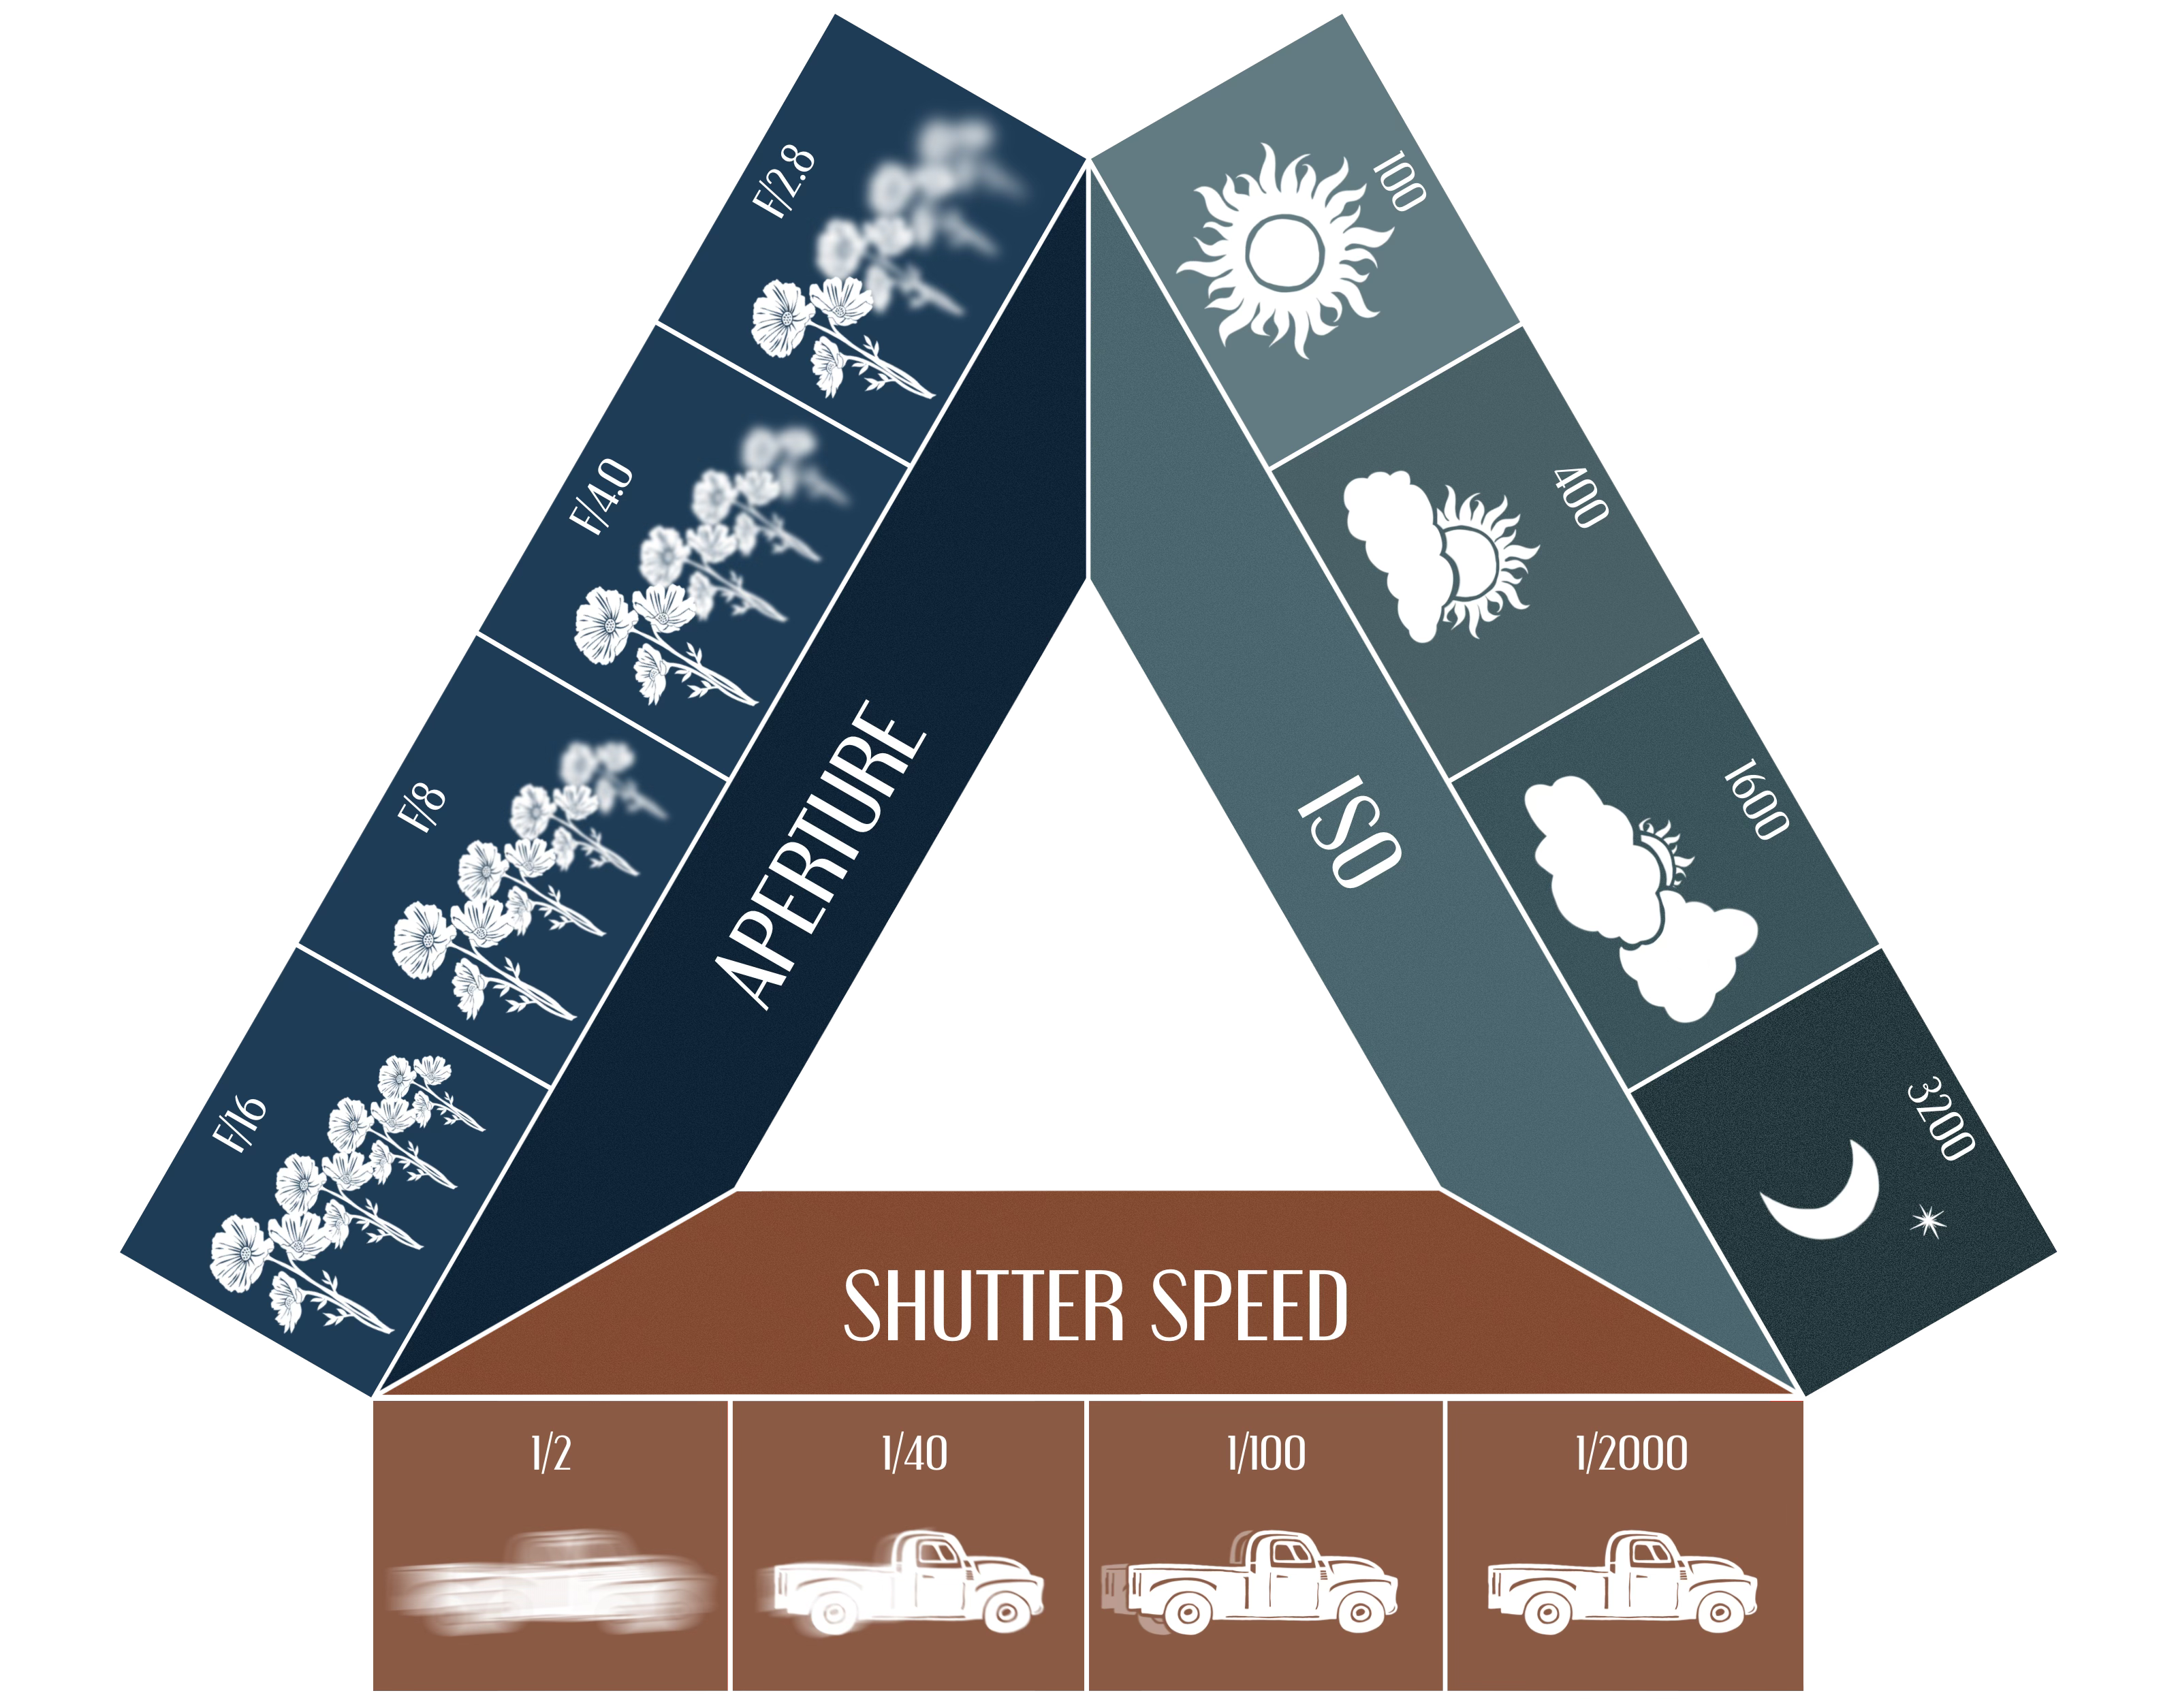
1. Aperture — How wide the lens opens.
Imagine your camera’s lens like the pupil of your eye. Aperture is how wide it opens to let in light.
A wide aperture (like f/2.8) lets in more light and gives you those blurry backgrounds (portraits, close ups).
A narrow aperture (like f/11) lets in less light and keeps more in focus (great for landscapes).
Low f-number = more light, blurry background
High f-number = less light, sharper focus front to back
2. Shutter Speed — How long the camera stays open.
This is how fast or s l o w the shutter clicks.
Fast shutter (like 1/1000) freezes motion.
Slow shutter (like 1/10) shows movement or blur — great for waterfalls and also in low light (the longer it’s open, the more light gets in).
Fast = crisp shots, no motion blur
Slow = motion blur, more light collected
With slower shutter speeds, you’ll need a tripod or really steady hands!
3. ISO — How sensitive your camera is to light.
This one’s like turning up the brightness on a screen.
Low ISO (100–200) = clean image, use if you have lots of light naturally.
High ISO (1600+) = works in low light, but adds grain or noise.
Typically you want to use the lowest ISO you can get away with.
These numbers are just a starting point. You have to fine tune. You have to see what looks right and feel what fits your style.
Comfort with a camera only comes through practice. By getting it wrong, adjusting and always trying again.
Don’t be afraid to fail. Just be willing to learn from it.
So often I see people posting rigid “rules” for beginners. They suggest that using their exact settings will yield those perfect shots.
But it doesn’t work that way.
Give ten photographers the same scene, at the same time, from the same spot… and you’ll get ten different images. That’s the whole point!
The magic isn’t in the settings or the camera. It’s the photographer. YOU.
There’s no secret sauce. No shortcuts. There is only the oldest truth in the book: Practice makes perfect.
…Scratch that.
Practice makes better.
Nothing is perfect this side of heaven.
But we can keep showing up.
We can try.
And we can grow.
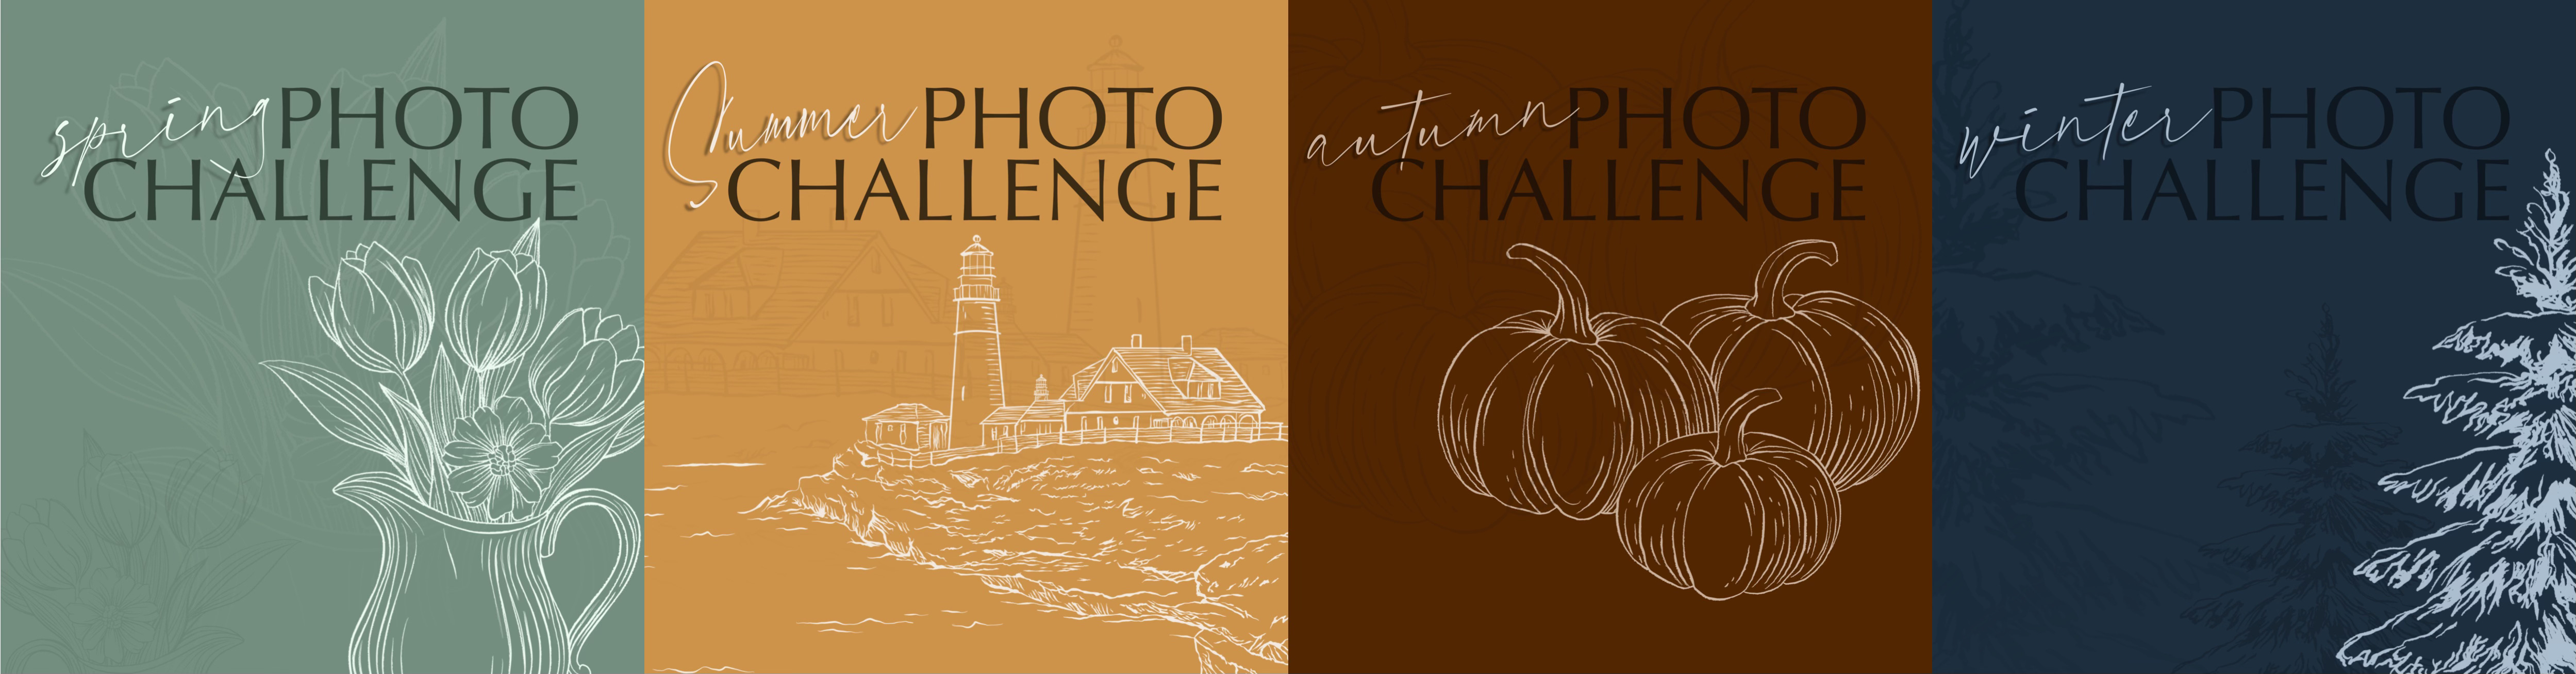
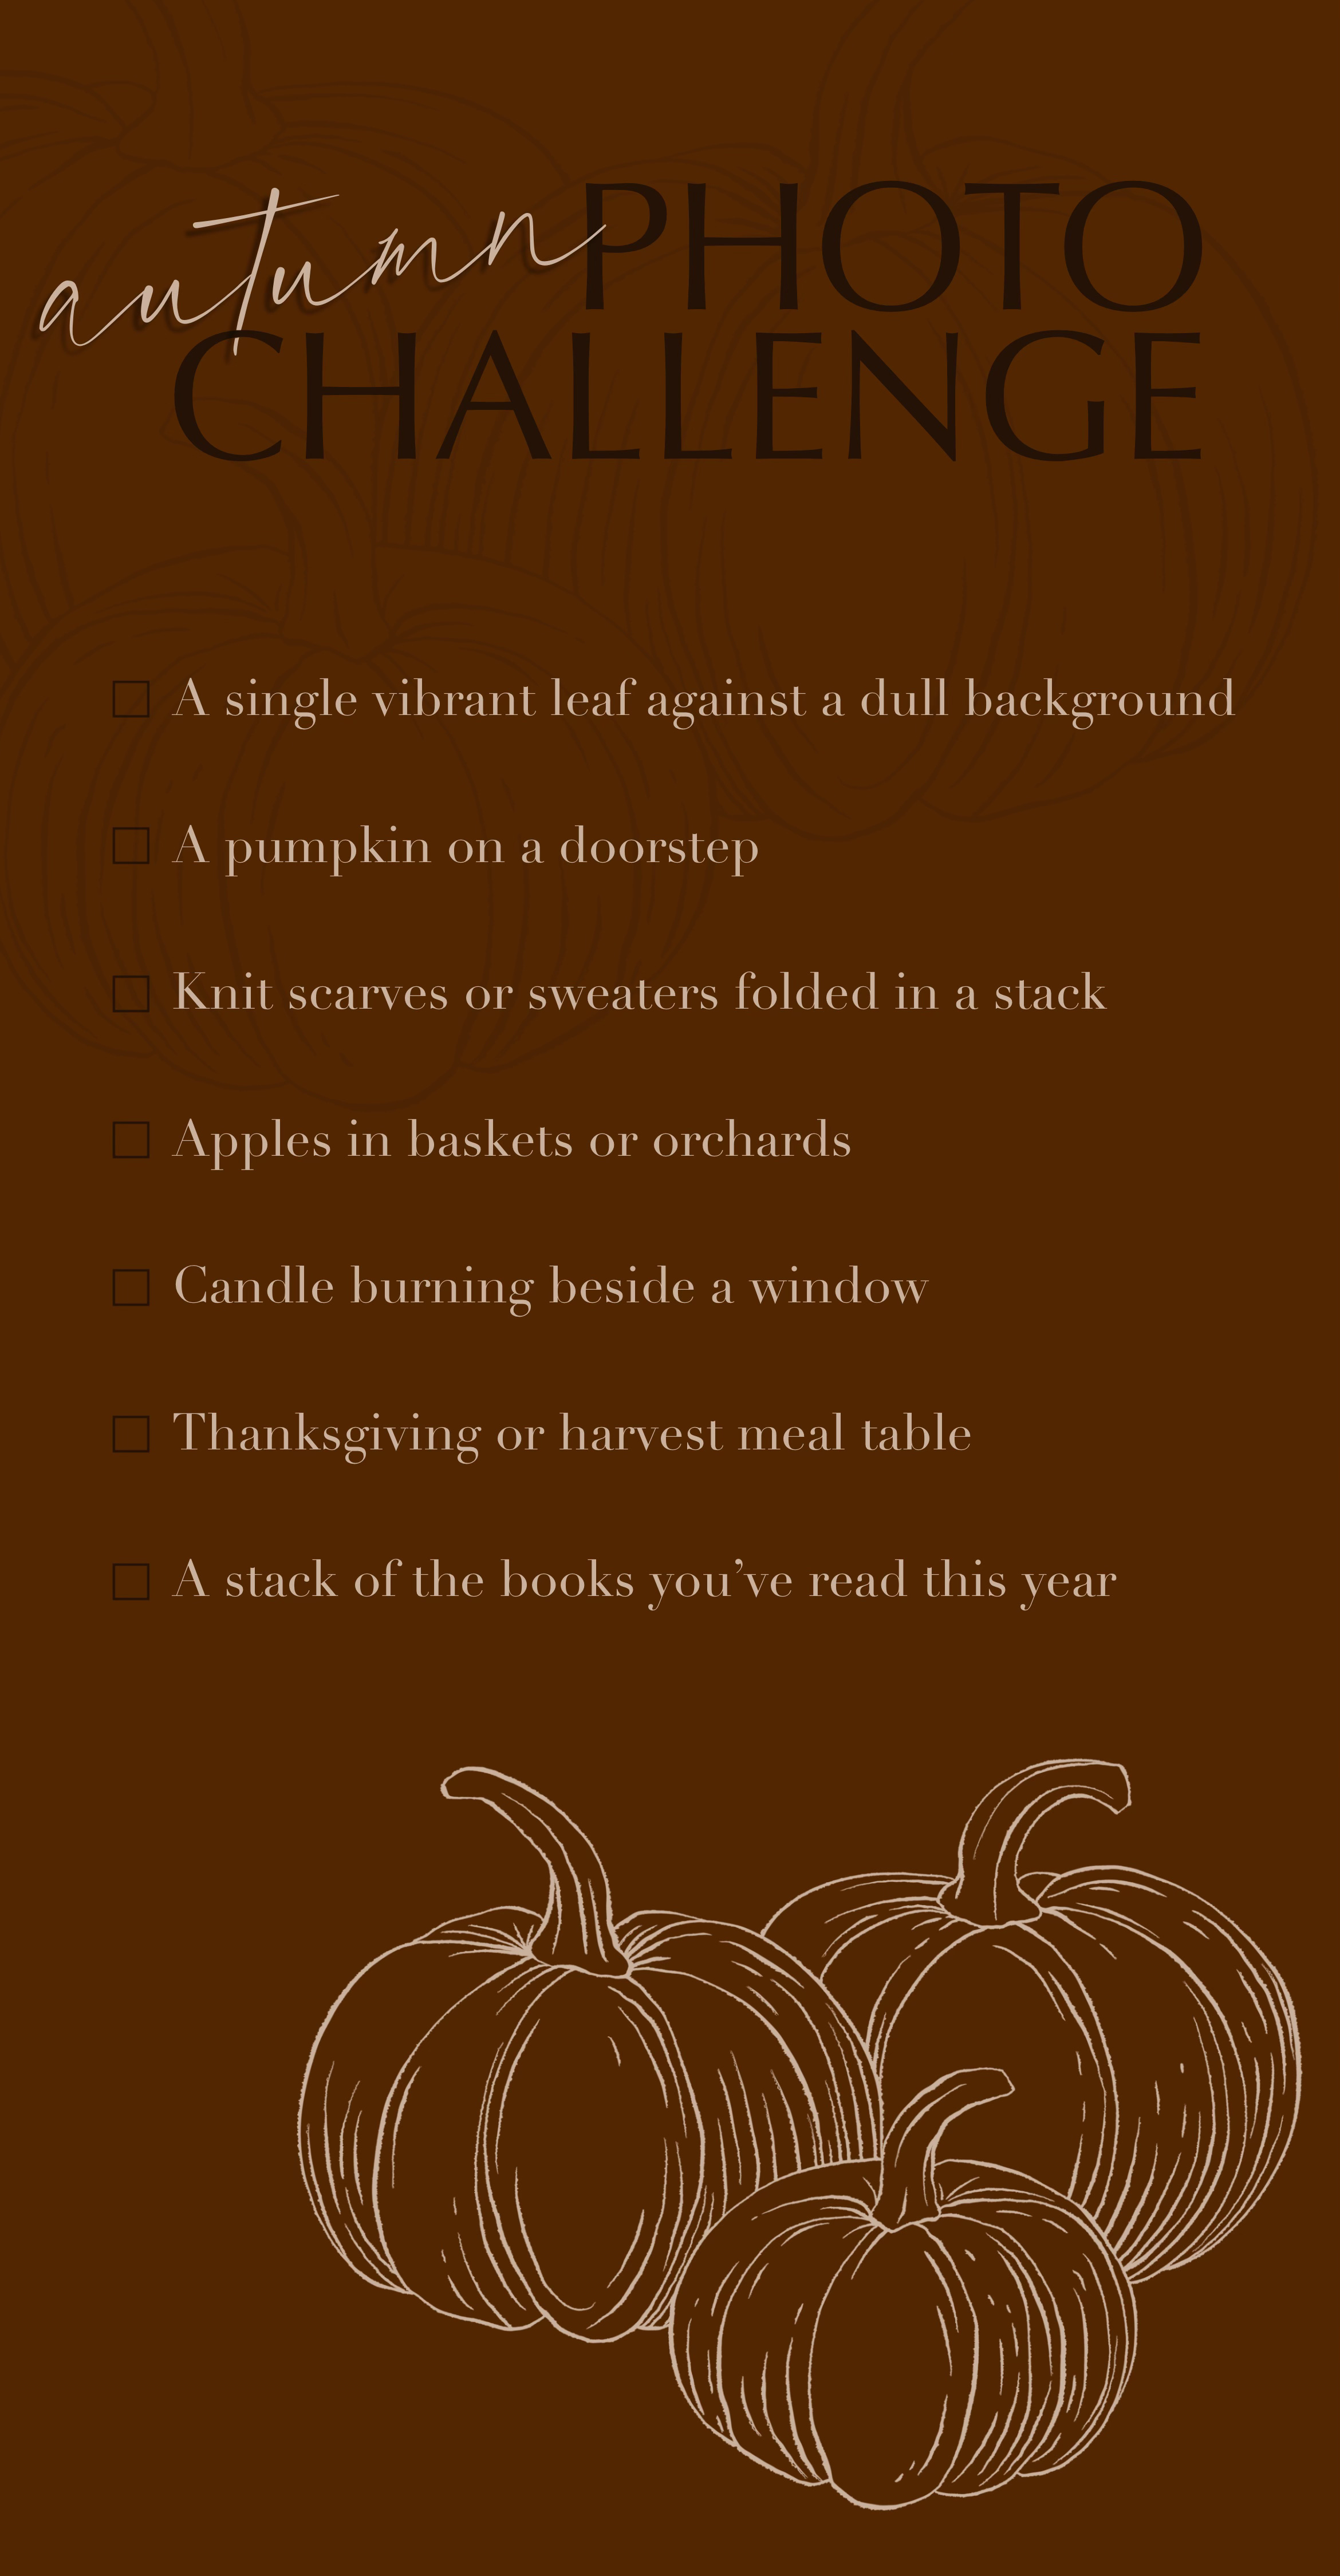
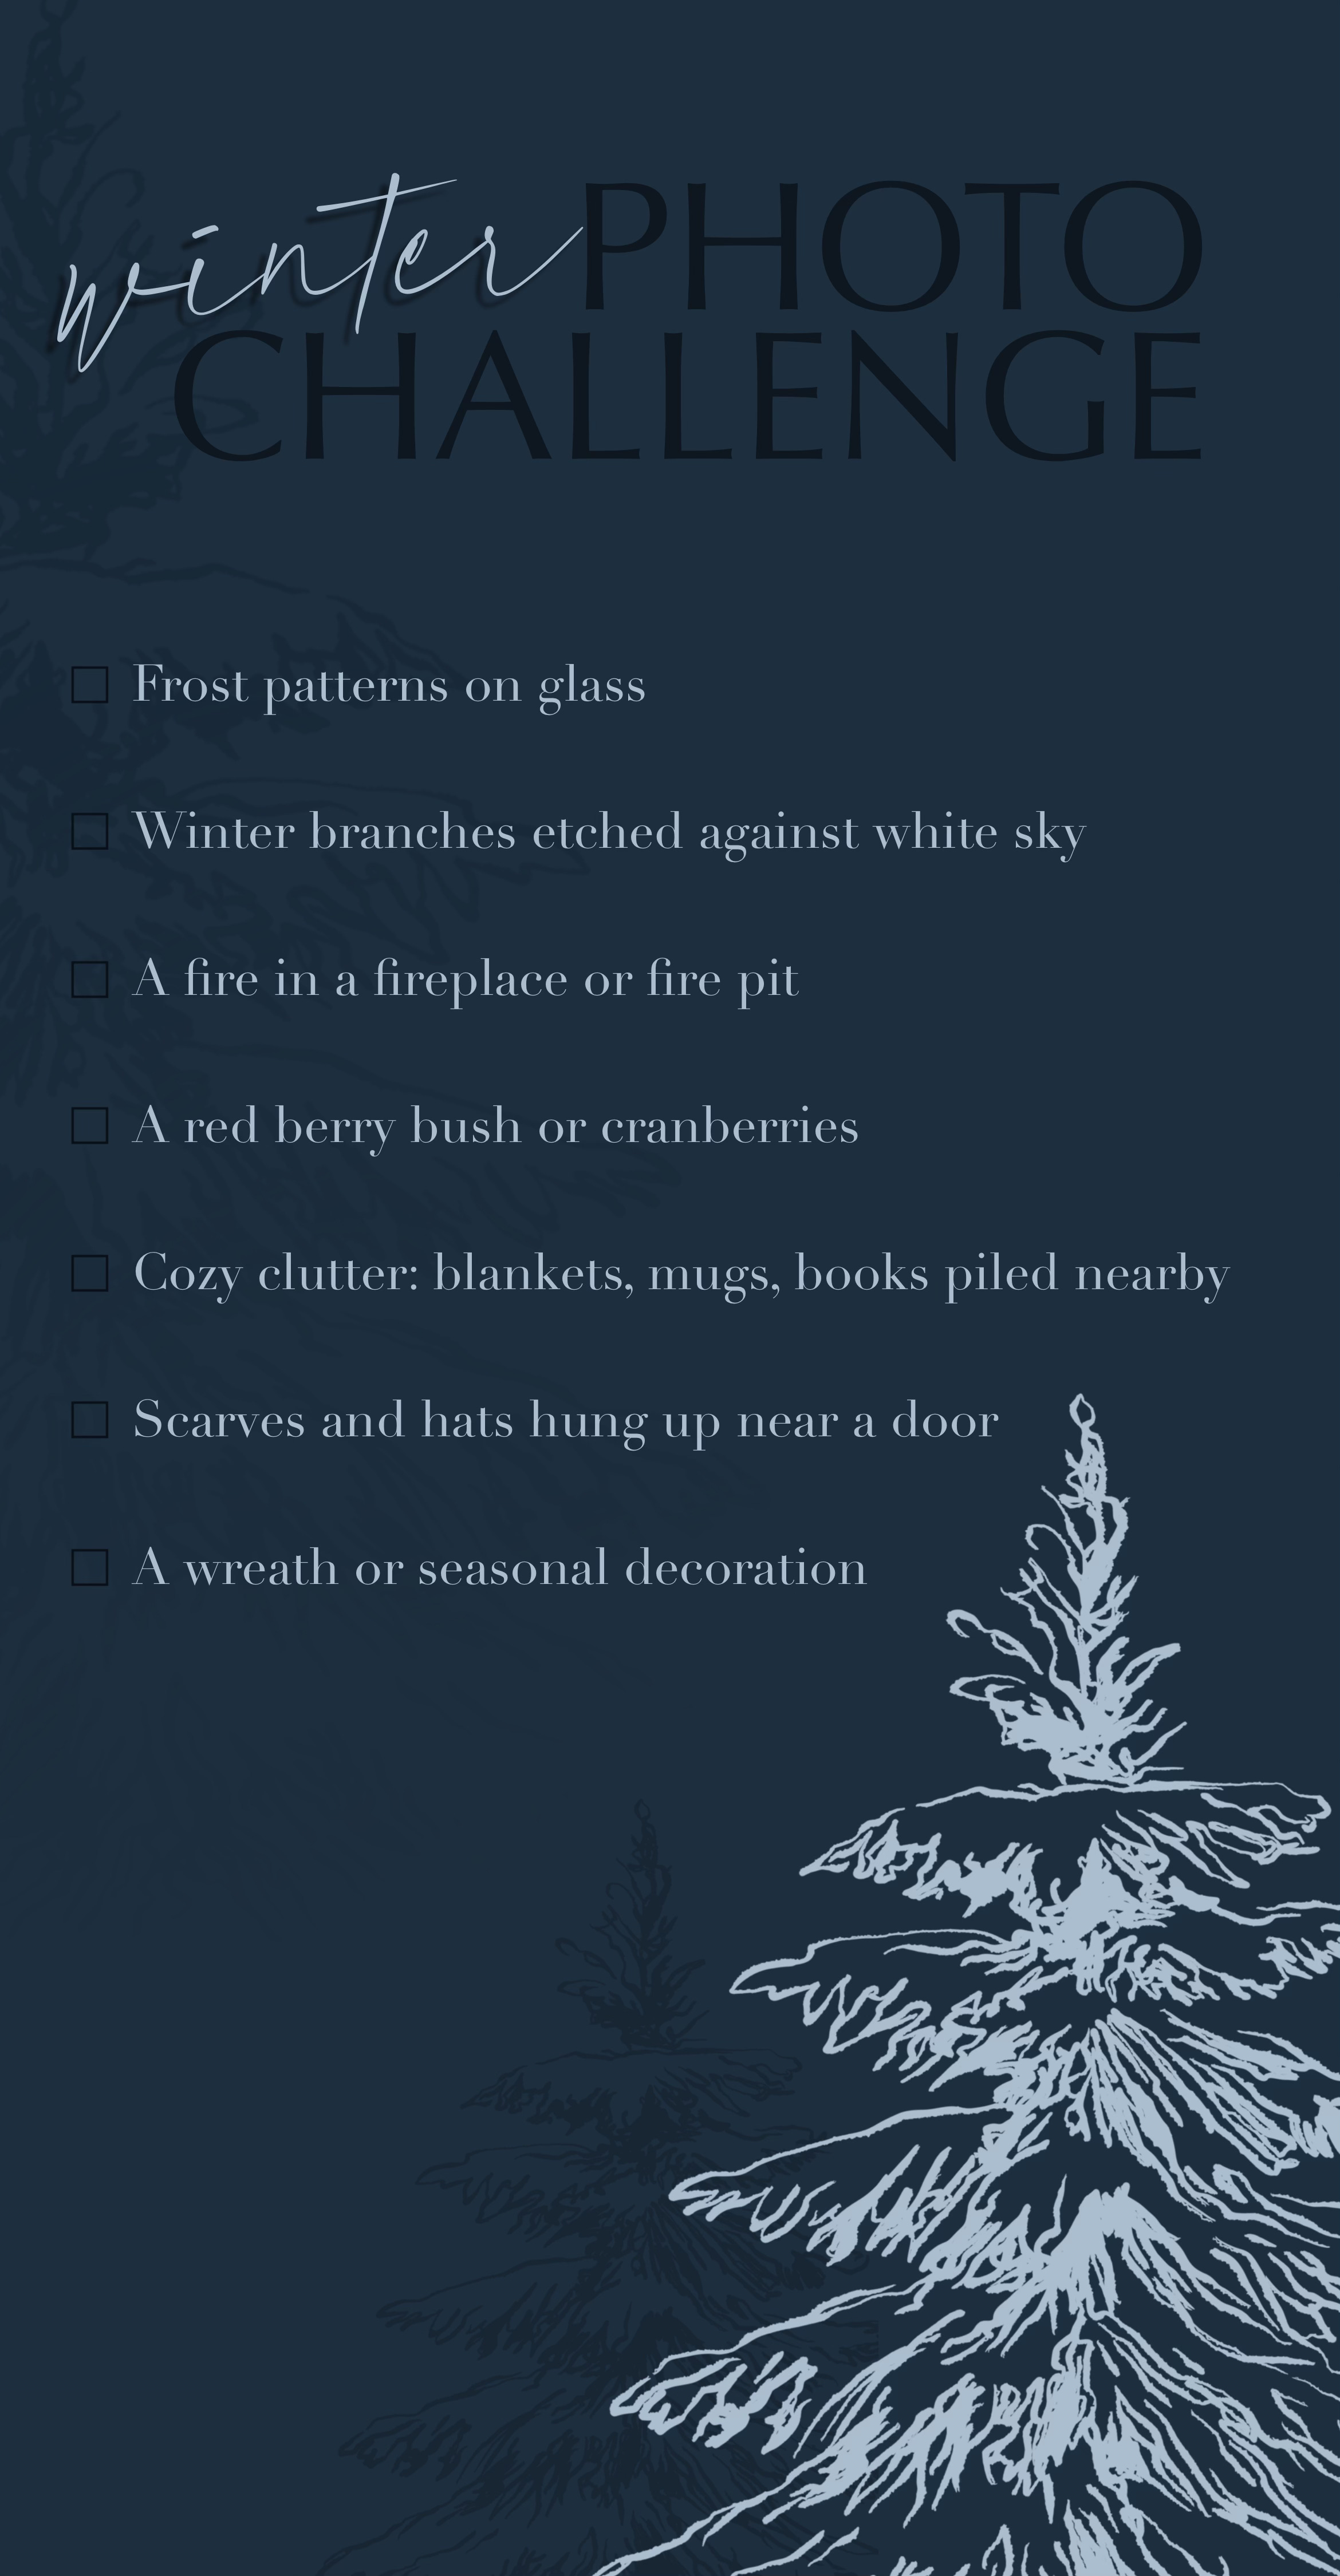
A Little Challenge for You
I’ve put together a set of seasonal photo checklists — little prompts to get you looking through your lens again. Save the image to your phone and use your markup or editing tools to tick things off as you go.
You can do it alone or challenge a friend and compare what you each found.
Do it again next year to see how your eye has changed or how the same world looks a little different in new light.
No rules. No pressure. Just a reason to pick up your camera again. Your phone counts as a camera too! Some of my favorite photos are from mine.
All four seasons are below.
Just press and hold (right click) the image to save it.